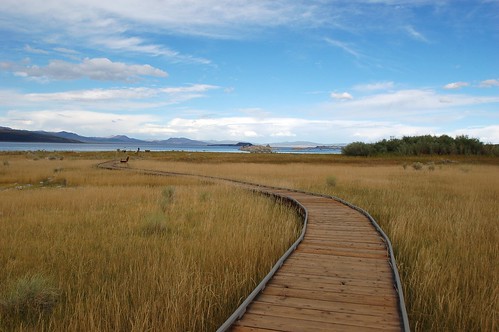
We woke up at 5:15am on the day of the hike, drove to the valley, and parked about a mile from the trailhead. We officially started hiking at 6:30am, following the Merced River upstream. The first 2.5 miles were steep and packed with tall stairs made of huge chunks of granite.
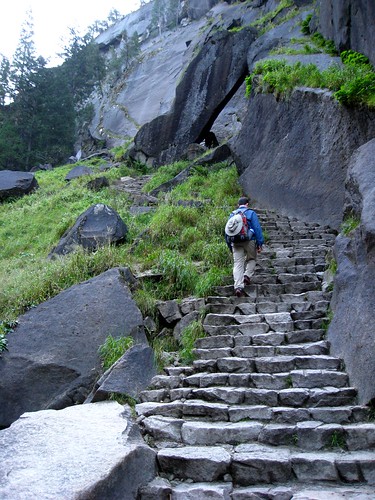
Matt climbing the first set of stairs near Vernal Falls
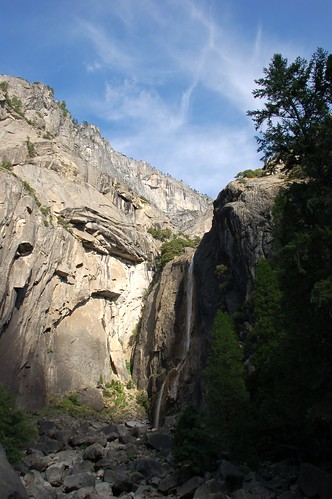
The first major milestone was Vernal Falls, a beautiful (and deadly) 317 ft waterfall spilling out over sheer granite cliffs.
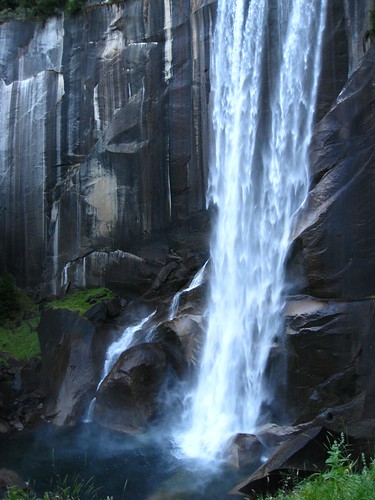
Vernal Falls around 7am (compare to 5pm, later in the post)
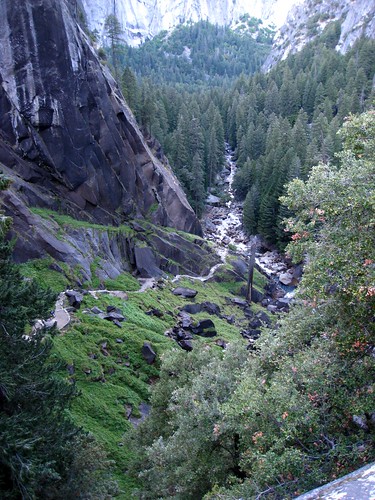
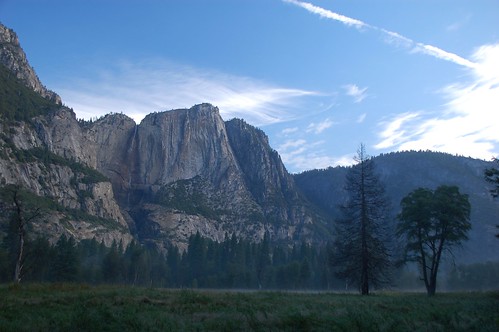
Since the sun hadn't risen yet when we started hiking, we were treated to glimpses of golden morning light as the sun rose. It was also nice to get a couple of solid hours of hiking without worrying about sun exposure. The morning was cool and breezy and perfect weather for hiking.
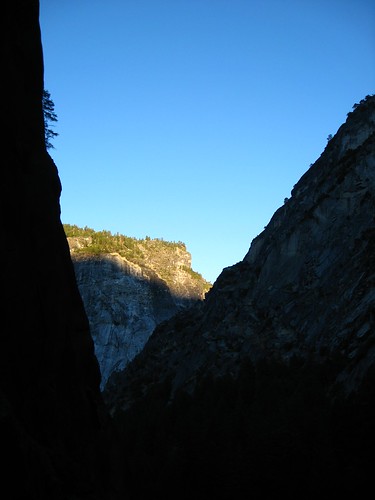
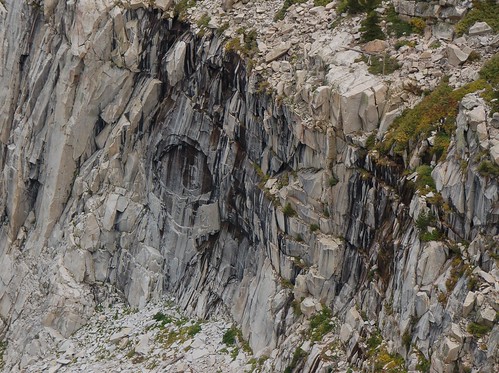
Morning sun warming the cliffs around us
About 2.5 miles into the hike, we reached another milestone, Nevada Falls. We decided to take a break here, having a snack and a water break to breathtaking views.
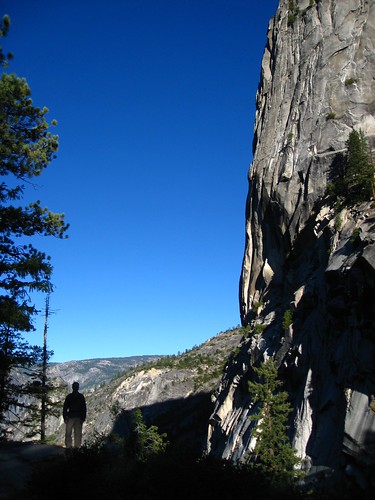
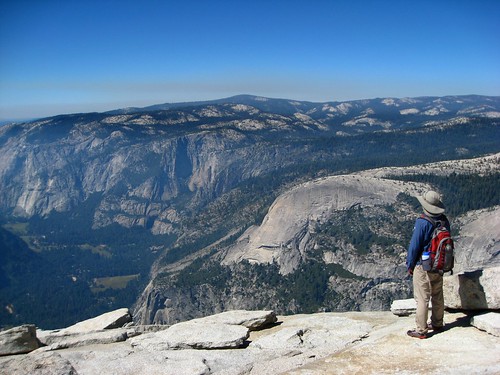
Matt looking out to the valley below, to the right is Liberty Cap
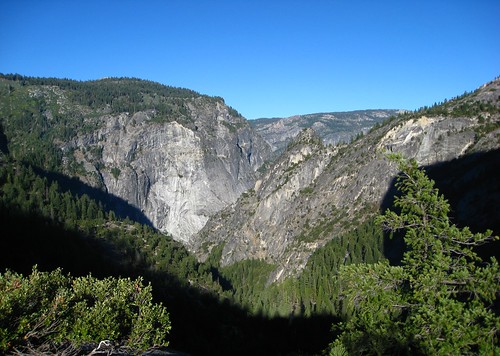
The view from our snack spot
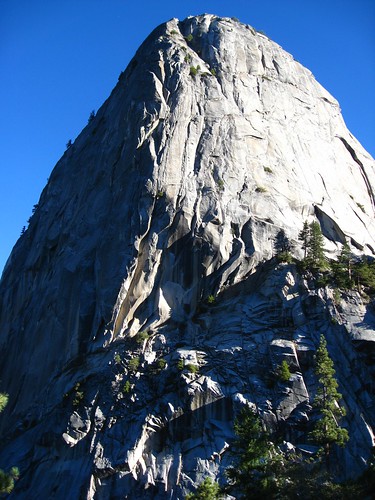
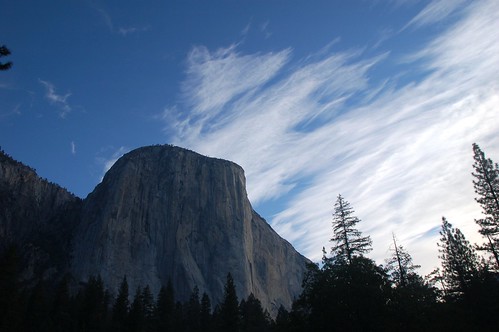
Liberty Cap with morning light
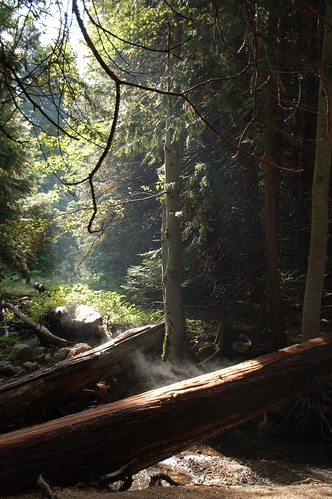
From here, the trail flattened out for a mile or two, a welcome break from steep stairs. We passed Little Yosemite Valley, a backpacking camp for those who choose to do Half Dome in two days, and then a Ranger Station. Soon after that, the trail began to steepen again, and it remained at a pretty constant grade for the rest of the way to the Sub Dome. I didn't take many pictures for this part, mostly because I was battling the altitude for breath as we climbed higher, but suffice it to say, the forest was beautiful. Yellow pines and the occasional redwood leant some much-needed shade to the trail.
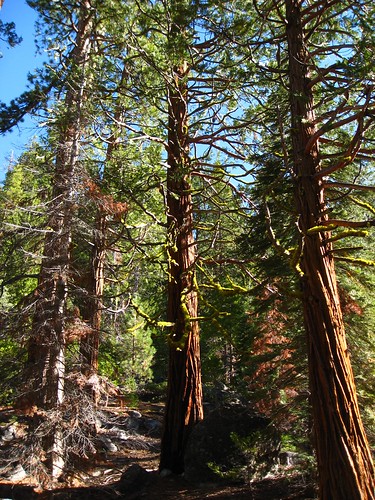
Redwoods with lower branches covered in bright green lichens
We reached the Sub Dome by 10:45am. This last segment before reaching the cables looks incredibly steep and rather daunting as you approach it from the south. But at this point, there's no turning back. We climbed the Sub Dome slowly, and finally made it to the base of the cables around 11:30am where we took a break for lunch before attempting the steepest section of the hike.
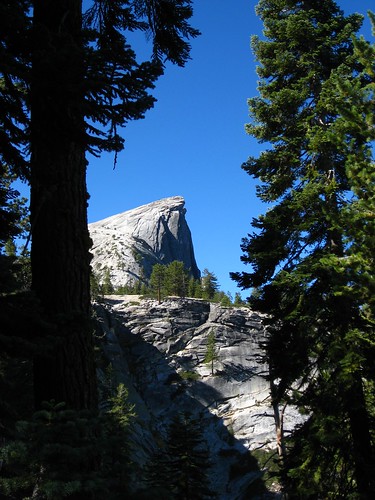
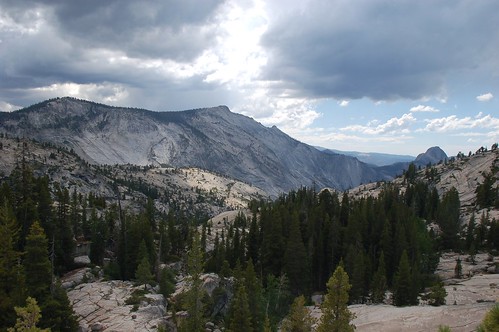
The view as the trail approaches the summit. The Sub Dome is the shoulder just below and to the left of Half Dome.
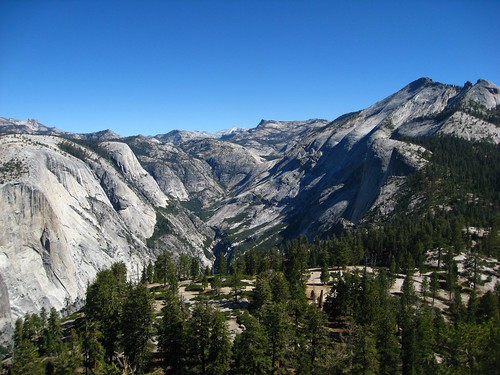
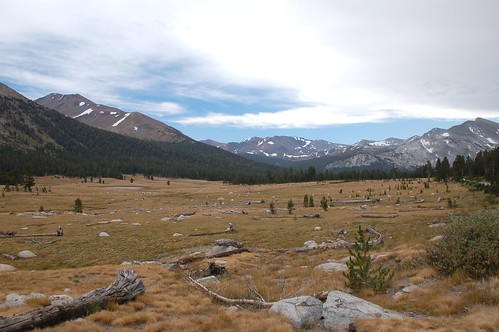
The view from the Sub Dome, looking back on the forested trail (foreground) and the mountains beyond.
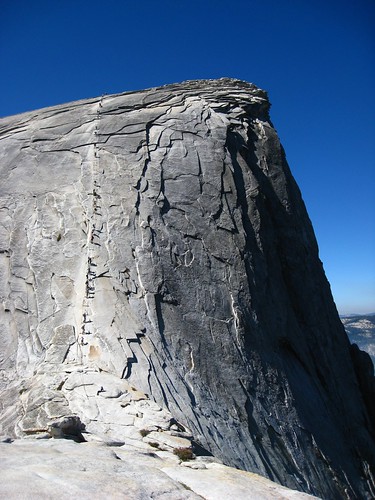
After lunch and a rest in the only shady spot on the Sub Dome, Matt and I prepared for the cables. I was terrified, to put it lightly. Matt had assured me on the way up that the cables wouldn't be that steep, but it turns out that his memory was not quite as accurate as he thought. In fact, the cables are the steepest part of the entire hike, going just about as close to vertical as you can get. Without the cables and little bits of wood to hang on to, there's no way Half Dome would be even remotely climbable. As an ominous example of what would happen if you fell, while eating lunch we watched as an empty Nalgene bottle fell out of a climber's back pack at the top of the cables. It tumbled down end-over-end in a free-fall, bouncing off the rock face for a good 30 seconds before finally coming to rest on a tiny ledge at the base of the cables. Not the most reassuring thing I could have witnessed at that moment.
But Matt wasn't going to let me go all that way and not get to the top. So we put on our leather gloves, I swallowed my fears, and we started the ascent. The climb was intense, to say the least. To pull ourselves up the cables required not only leg strength, but core and arm strength as well. To complicate matters, other climbers were coming down as we were coming up, so passing people takes some bravery (as does looking down).
The cables and climbers on Half Dome
Finally, after a lot of hard work we made it to the top around 12:30pm! The views were stunning, and as everyone says, well worth any sweat and pain it took to get there.
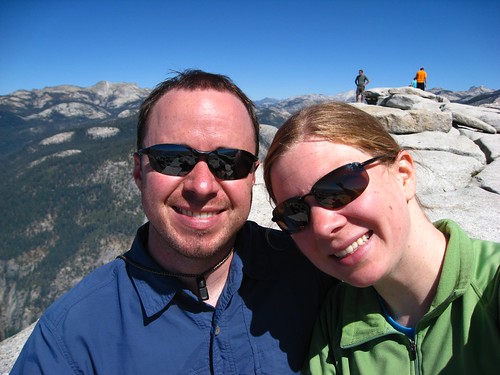
Me and Matt on the top of Half Dome, 8,836 ft.
Matt looking out over Yosemite Valley. The cliff dropped off vertically to the valley floor just a few feet from where he is standing.
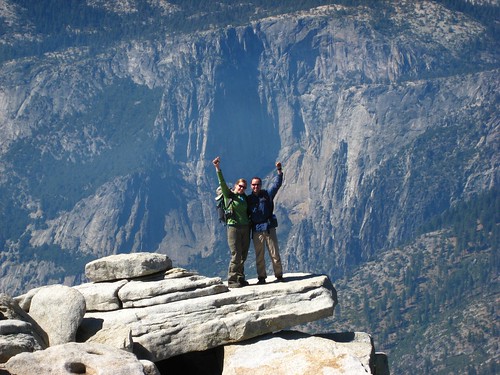
We conquered Half Dome!
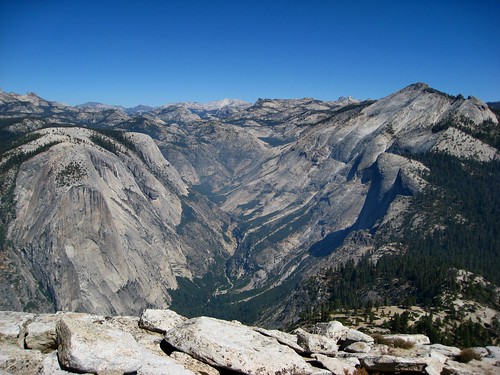
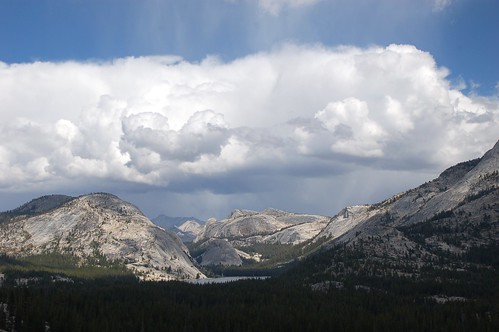
Views of the valley behind us - compare this view with the one from the top of the Sub Dome. You can see the forest that was previously in the foreground is now quite a ways beneath us now.
After summiting, we began the long journey back down the mountain, beginning with descending the cables. I was not looking forward to this part, but Matt went first, and we both hung on tight. After that, we made good time on the way back down, stopping periodically to enjoy the views again from the other direction.
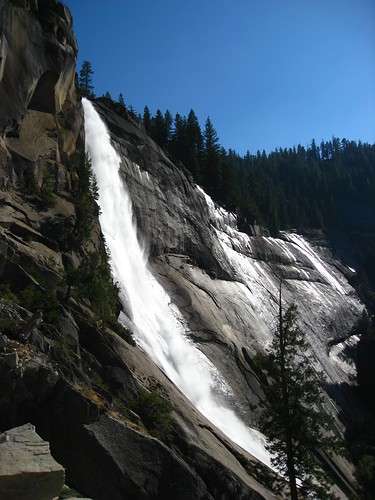
Nevada Falls
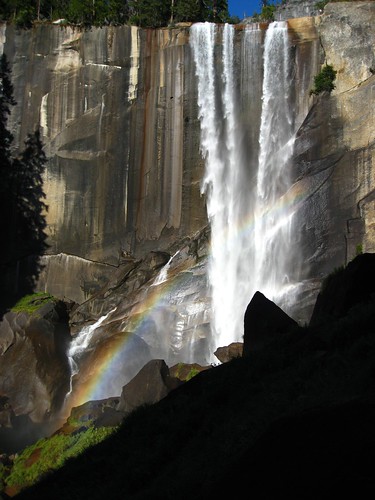
Vernal Falls with a rainbow
We ended the hike around 5pm, making the total hike roughly 4,800 ft elevation gain, 17 miles, and about 10.5 hours. Not too bad! Although our feet and knees didn't thank us for the trip, it was an awesome day and one that I won't ever forget. We might even be crazy enough to do it again next year!
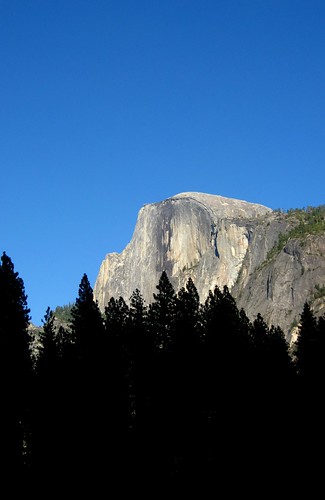
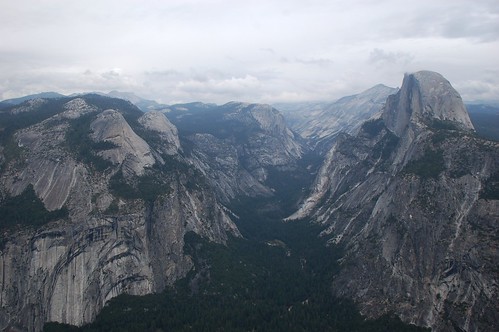
One last view of Half Dome from the valley floor